How to Photograph Fog: A Beginner's Guide to Metering, Focus and Mood
Fog arrives quietly and takes the view away. For most of the year that is a nuisance; for a photographer, it is the best light you will get all month. Mist strips a scene back to its essentials — silhouettes, layers, a handful of greys — and turns an ordinary field or towpath into something worth stopping for. The catch is that your camera has no idea what it is looking at. Fog is bright, low in contrast and almost entirely lacking the mid-tones an exposure meter expects, so the settings that work beautifully at the coast will hand you a flat, muddy file. The fixes are straightforward once you know them.
Why fog breaks your meter
Every camera meter is built around an assumption: that the scene in front of it averages out to a middle grey. Point it at a sunlit field, a grey street or a person in a coat and that assumption is roughly true. Point it at fog and it is badly wrong. Mist is often two or three stops brighter than mid-grey, so the camera obediently darkens it to grey, and you get a scene that looks like wet cardboard.
The second problem is contrast. Autofocus and metering both want edges, texture and variation in brightness. Fog removes all three, replacing them with a smooth gradient from pale grey to slightly paler grey. Add a low sun, a reflective puddle and a dark gatepost and the meter will swing about unpredictably as you recompose. You are not doing anything wrong; the scene simply is not the kind of scene the meter was designed for.
Exposure compensation: the control you will use most
Set your camera to aperture priority, choose something around f/8, and get used to living in the exposure compensation dial. As a starting point for fog, add +1 EV. Look at the histogram, then decide whether to add more. Most fog scenes need between +1 and +2 EV, and thick, backlit mist can want more still.
The histogram will look unusual. In fog you want the data bunched towards the right-hand side, because the subject genuinely is bright. A little clipping in the brightest patches of blown mist is usually harmless — it is white fog, not a white wedding dress. What matters is that the darker elements, such as a tree trunk or a stone wall, still hold detail rather than turning into black holes.
- Shoot RAW. Fog is a low-contrast subject and you will want the latitude later.
- Bracket if you are unsure. Three frames at 0, +1 and +2 EV costs nothing and settles the argument at home.
- Watch white balance. Auto white balance often drifts cool and slightly blue in mist. Daylight is a more predictable starting point, and RAW lets you correct it later.
- Be careful with Dehaze-style sliders. A little adds separation; too much produces grey halos and gritty mud. Fog is supposed to look soft.
Focus when there is nothing to lock onto
Autofocus needs contrast, and mist is contrast's absence. Expect the lens to hunt, particularly with a long telephoto or a slow maximum aperture. Switch to a single AF point and place it deliberately on the nearest strong edge — a fence post, a branch, the corner of a building. If that fails, turn autofocus off.
Manual focus in live view, magnified on the screen, is slower but far more reliable. On most modern cameras, focus peaking helps you see where the plane of focus is sitting. Where you put that plane matters: in fog, the foreground is usually what makes the picture, so focus a third of the way into the scene rather than at the horizon. At f/8 to f/11 with a wide lens, that gives you a generous depth of field from a few metres out to the mist itself, which will always look soft anyway.
Choose a focal length with intent
Wide-angle lenses make fog look thin. You end up with a huge, empty frame and a small grey smudge in the middle distance, because a wide lens pushes everything away from you. If you want to use a 24mm or 35mm, you need a real foreground — a textured path, a gate, a band of reeds — to anchor the bottom of the frame.
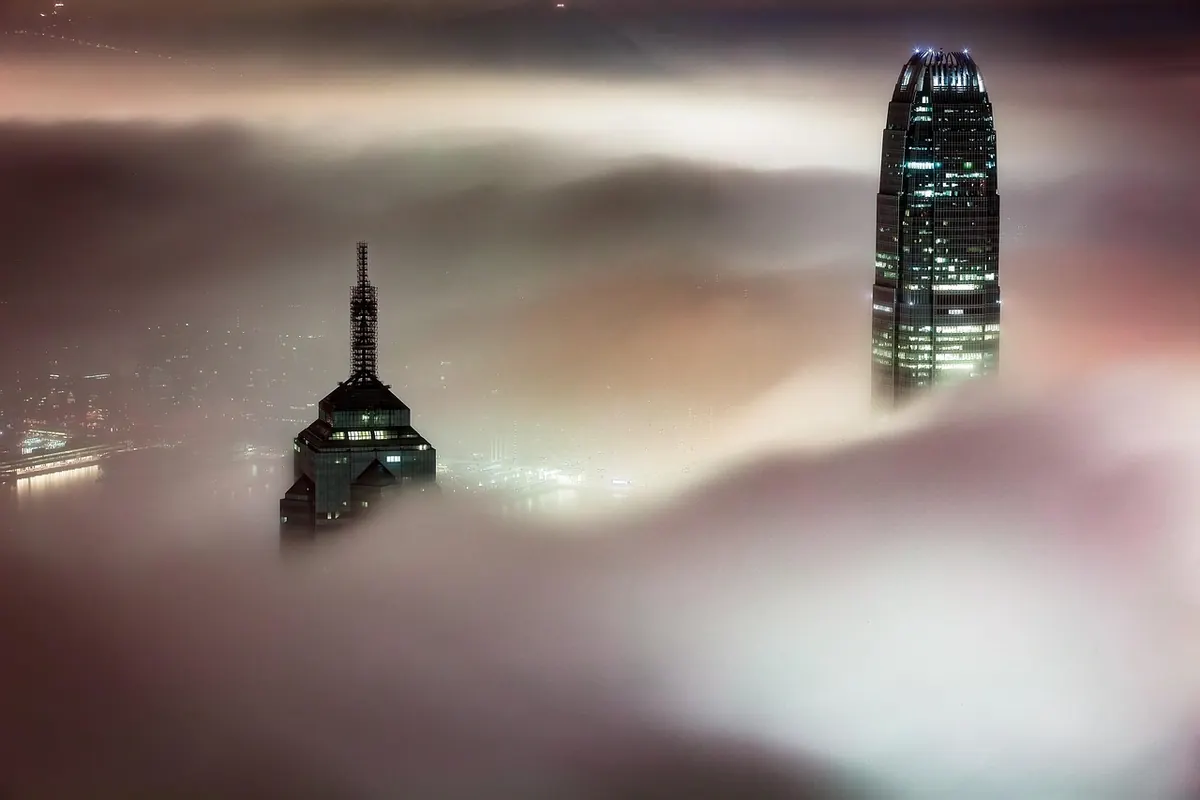
A short telephoto is the classic fog lens. Something in the 70–200mm range compresses distance and stacks the layers of a valley into distinct bands of grey, one behind the other. Long lenses also isolate: a single church tower, a bare oak or a line of pylons floating in whiteness. Try both. The difference in feel is dramatic.
Composition: build the frame from layers
Fog gives you depth for free, but only if you arrange the picture to show it. Think in three zones: something dark and definite in the foreground, a mid-grey middle distance, and pale, dissolving distance beyond. A frame made entirely of uniform grey has nothing for the eye to hold.
Things that work well in mist
- Silhouettes: bare trees, church spires, gateposts, a lone walker on a ridge.
- Backlight: shooting towards the sun through mist can produce soft shafts of light. Use a lens hood and accept a little flare.
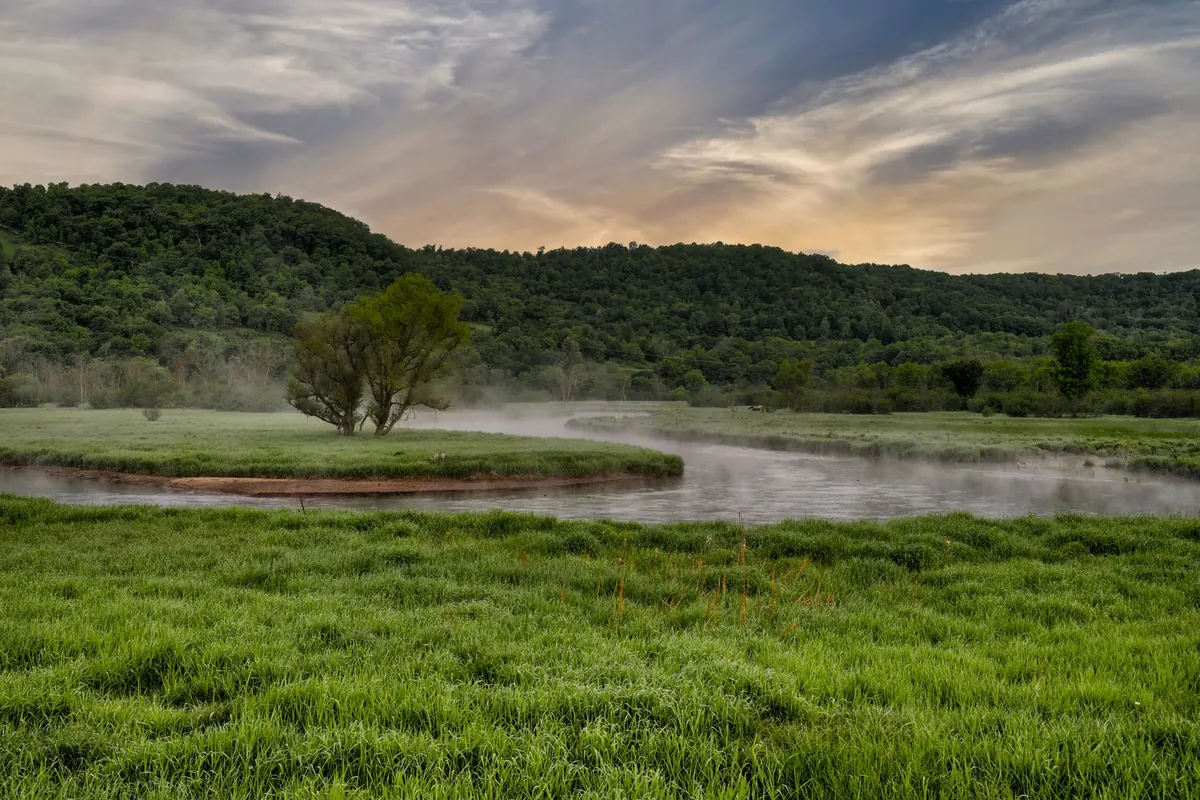
- Still water: reflections double the layers and calm the composition.
- One spot of colour: a red jacket, autumn leaves, a green boat. Against grey, it sings.
- Negative space: leave room for the emptiness. It is the subject as much as anything else.
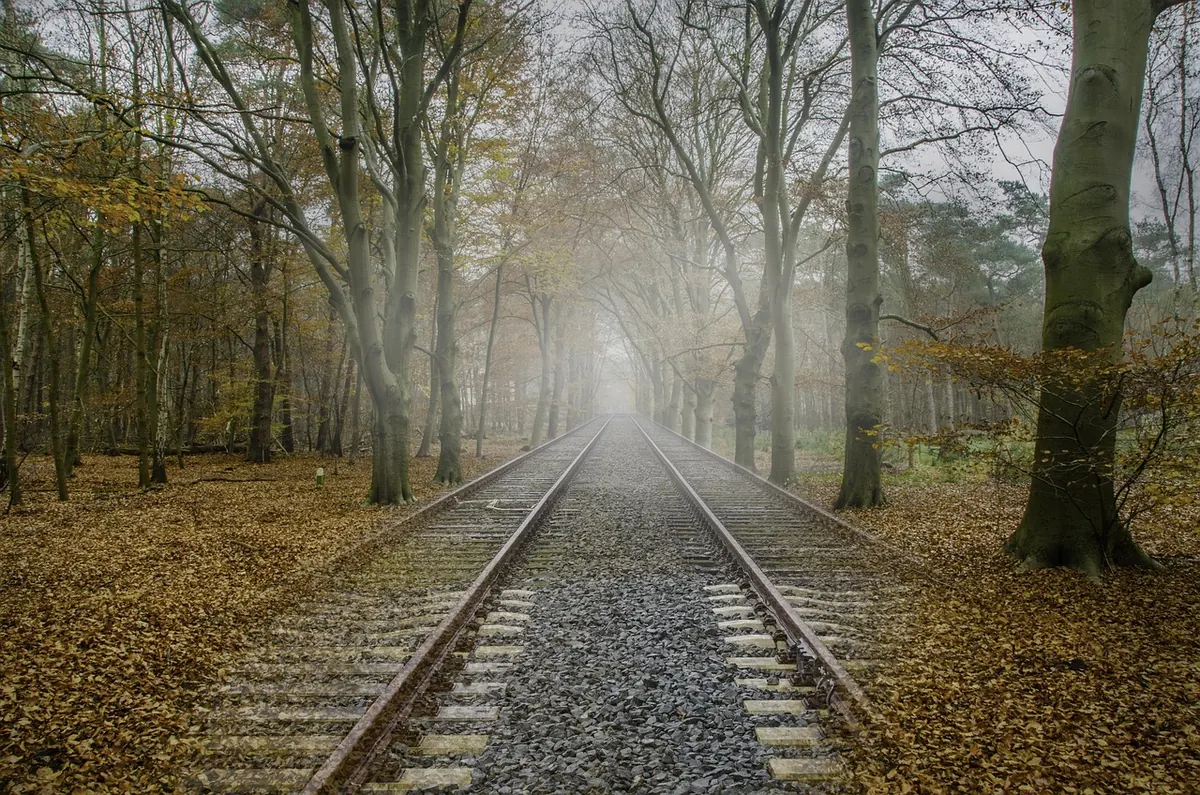
Give the frame a clear sense of recession — a path curving into the whiteness, a line of trees fading one by one — and the eye will follow it. Monochrome conversions suit fog particularly well, because there is little colour to lose and the tonal separation does all the work.
Timing, places and keeping your kit dry
In Britain, fog is most likely on still, clear nights after a damp day, particularly in autumn and winter. Valley bottoms, river corridors, canal towpaths, the Fens, moorland edges and low-lying farmland all collect mist while higher ground stays clear. It usually forms overnight and burns off within an hour or two of sunrise, so an early alarm is part of the technique. Check a visibility forecast the evening before and pick your location accordingly; a short drive to a river valley beats hoping.
Condensation is the enemy. Moving a cold camera into a warm car or house fogs the lens from the inside, and that can take half an hour to clear. Put the camera in a bag before you go back indoors and let it acclimatise slowly. In the field, carry a microfibre cloth or two, keep the lens hood on, and check the front element between shots — a single smear of moisture will soften every frame. Cold also drains batteries quickly, so keep a spare in an inside pocket.
A workable routine in the field
- Arrive before sunrise and walk the scene while the light is still blue and flat.
- Set ISO 200–400, aperture priority, f/8, and a single AF point or manual focus.
- Add +1 EV, check the histogram, then push brighter until the brightest fog starts to clip.
- Shoot RAW and bracket the first few frames until you trust the exposure.
- Find a dark anchor for the foreground, then look for layers behind it.
- Try a telephoto for compression and a wide lens for a foreground-led frame.
- Wipe the front element, warm your hands, and stay out ten minutes longer than feels sensible.
Edit gently afterwards. Lift the shadows a little, add a touch of contrast in the mid-tones, and resist the urge to make fog look like something it is not. The pleasure of these pictures is their quietness: a few tones, a suggestion of distance, and a landscape reduced to its bones.
Photo: RonBerg / Pixabay