Common Fog Photography Mistakes and How to Fix Them

Fog does half the work for you. It strips a scene back to shape and tone, hides the clutter at the edges, and turns an ordinary line of trees into something worth standing in the cold for. Then it quietly ruins a good many photographs. The failures are predictable, blown highlights, muddy greys, a lens that mists the moment you step out of the car, and so are the corrections once you know which one you are looking at.
Overexposing the Fog Until Its Texture Disappears
Most camera meters are calibrated to render a scene as a mid-grey average, and fog is anything but average. Point the camera at a bright bank of mist and the meter will often pull the exposure down, giving you grey soup where you wanted white. Recognise that, add a little exposure compensation, and you are on the right track. Then you overshoot.
Push too far and the fog becomes pure white with no detail in it at all. That is not atmosphere, it is a hole in the picture.
If the fog in your frame holds no texture, the viewer has nothing to read. White needs a value next to it.
The reliable method is to decide which part of the fog you want to keep detail in, usually the brightest bank of mist, and expose so that it sits just below clipping:
- Switch on the highlight warning, sometimes labelled blinkies or zebras, so blown areas flash on the rear screen.
- Add compensation in one-third stops until the warning first appears in the brightest fog, then back off by a third.
- Check the histogram rather than the preview image. The right-hand edge should approach the wall without leaning on it.
- Shoot raw. A flat, low-contrast file has plenty of headroom, and you will want it when you edit.
One exception worth knowing: a dark subject silhouetted against bright fog can be almost pure white behind it and still look right. What you are avoiding is a large blank area with nothing in it to hold the eye.
Losing the Contrast That Gives Fog Its Shape
Fog scatters light, lifts the shadows and drags the highlights down until most of the information in the frame sits in a narrow band of light greys. Photographs made entirely inside that band look washed out. The usual reaction, adding global contrast in editing, only makes them look crunchy instead.
Keep something dark in the frame
Give the eye a reference point. A wet tree trunk, a stone wall, the silhouette of a gate, a figure in a coat. A small patch of near-black tells the viewer how bright the fog really is, and it anchors everything else. Without it, white has nothing to be white against.
Edit in small steps
Set a black point, not crushed, just present. Apply a gentle S-curve. Add local contrast only where there is genuine detail to lift, tree bark, grass, gravel, and leave the smooth areas of mist alone. Sharpen texture rather than empty fog, or you will simply amplify noise in a flat area.
The dehaze slider deserves particular suspicion. A low setting can pull a little structure out of the far distance, which is occasionally useful. Pushed hard, it darkens the midtones, saturates every brown in the scene and leaves the mist looking like dirty weather rather than soft weather.
Lens Misting, Condensation and Cold Kit
Your lens will mist for the same reason your glasses do: warm, moist air meets cold glass. Step out of a heated car into a cold morning, or breathe across the front element while you compose, and a soft veil settles over everything. No amount of contrast will rescue it afterwards.
- Let the kit acclimatise. Keep the camera in its bag, close it, and give it fifteen to twenty minutes outdoors before you start shooting. The air inside equalises slowly, which is exactly what you want.
- Leave the hood on. A lens hood cuts the movement of moist air across the front element and buys you valuable seconds.
- Watch your breath. On a tripod, stand to one side and exhale away from the lens. In cold air you can see precisely what you are doing to it.
- Carry more cloths than you think you need. Microfibre, clean and dry. Change cloths rather than redistributing moisture around the glass.
- Remove a screw-in filter if it keeps fogging. It has more surface area to chill and will mist before the glass behind it.
- Do not wipe a cold camera that has just come into a warm room. Let it sit in the bag and warm slowly, or you will smear rather than clear it.
If moisture appears inside the lens itself, stop shooting, let everything dry slowly with the caps off in a dry room, and have the lens checked if it returns.
Composition That Ignores What Fog Removes
Fog erases distance cues. Ridges vanish, backgrounds collapse, and a wide view of an empty field can end up looking like a flat grey rectangle. Depth has to be built in deliberately.
- Get something close. A foreground within a metre or two of the lens, a fence post, a branch, a puddle, immediately restores a sense of near and far.
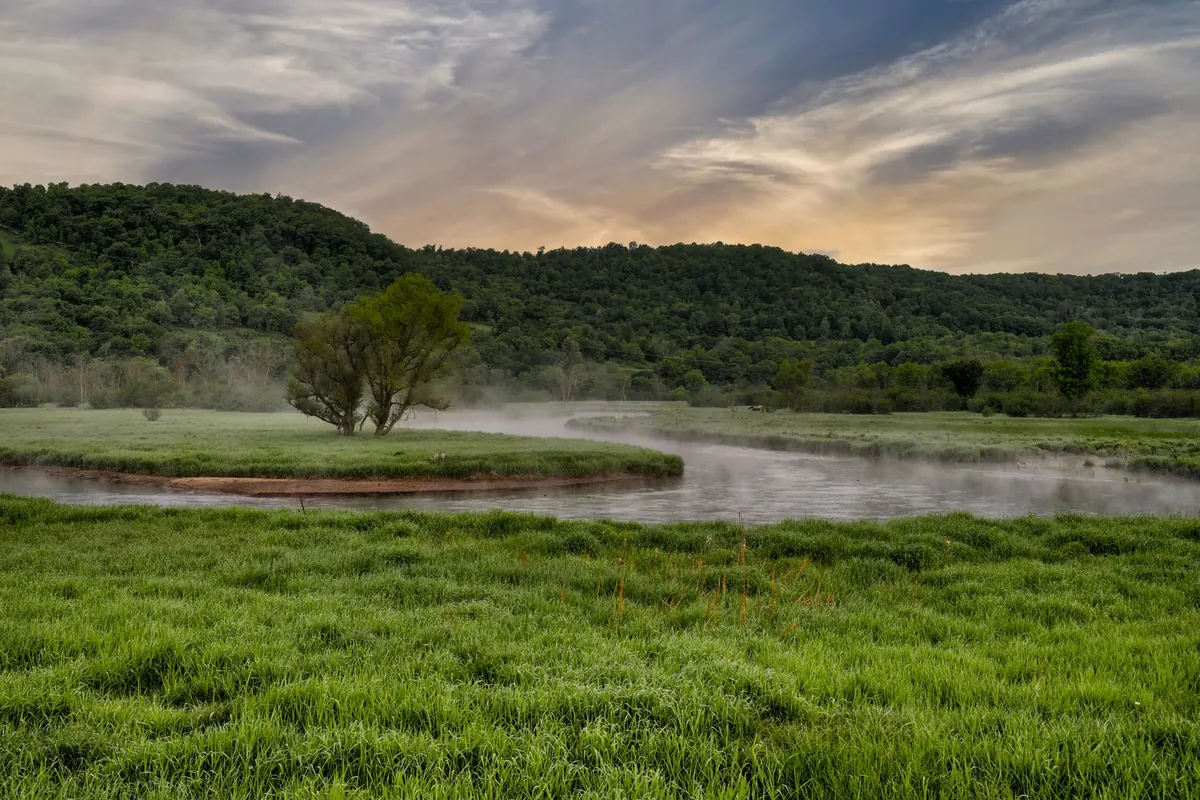
- Work in layers. Three or four receding planes of trees, hedges or hills, each paler than the one in front, read as depth even when the horizon has gone.
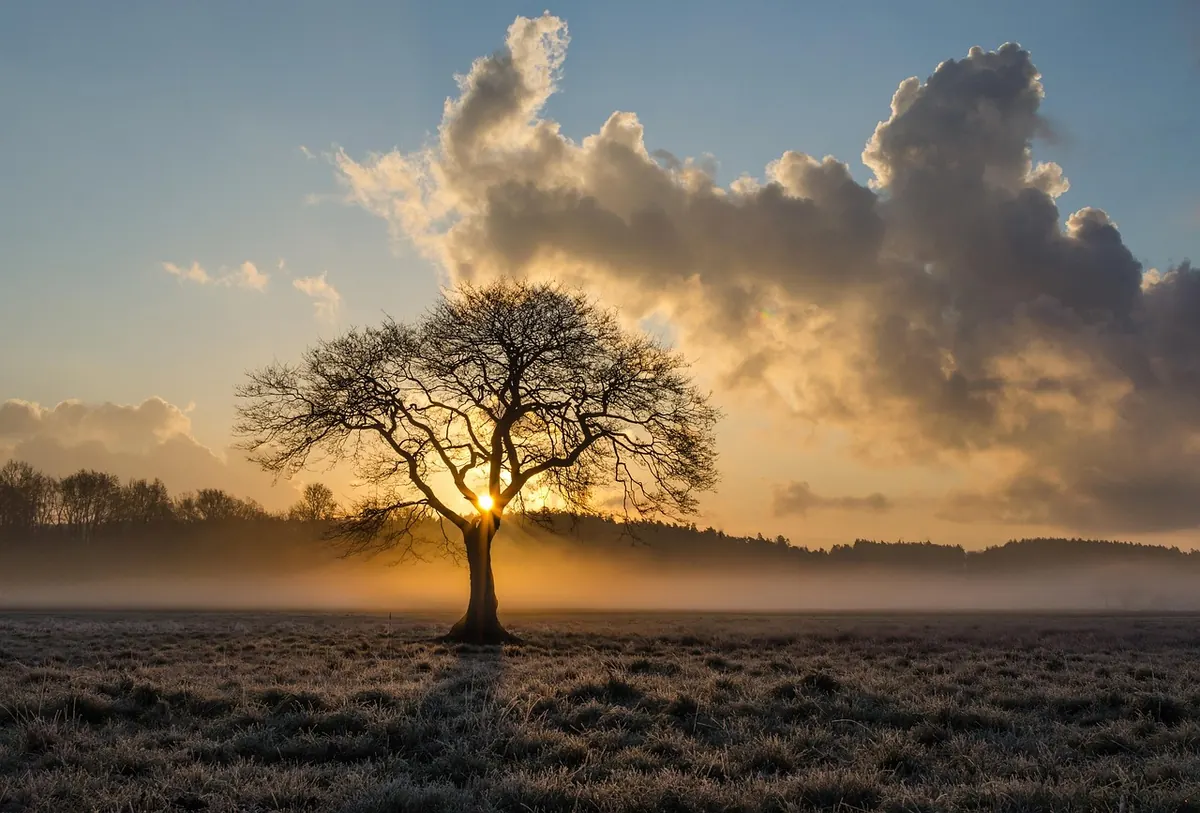
- Use negative space on purpose. A small lone subject in a large soft void is one of the few compositions fog does better than anything else.
- Shoot towards the light. With the sun in front of you, particles glow and separate. With the sun behind you, you are photographing grey.
- Change focal length. Wide lenses give space and emptiness; a telephoto compresses the layers into stacked bands of tone.
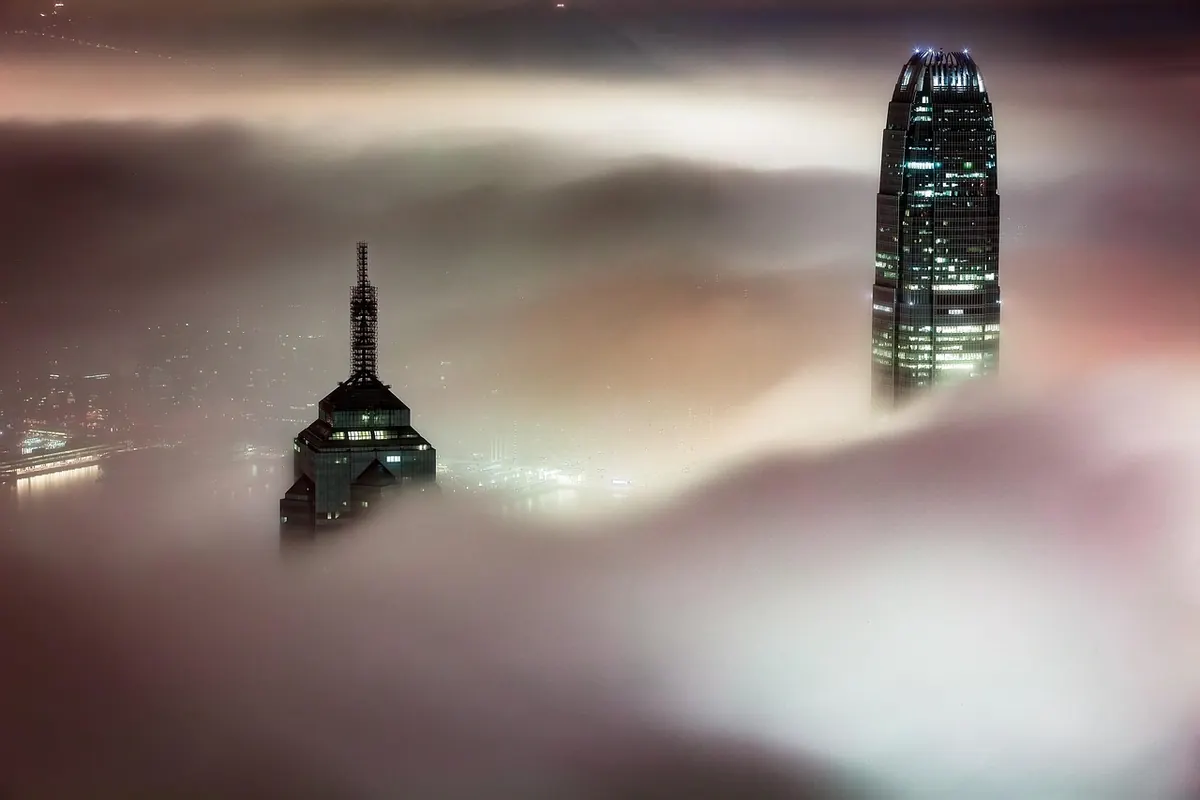
- Get above it. Hills, bridges and upper floors put you over the top of the mist, where the fog itself becomes the subject.
Colour Casts, Shutter Speeds and Other Quiet Errors
White balance drifts
Fog takes on whatever light passes through it: blue before sunrise, warm gold once the sun reaches you, green under a canopy, orange beneath street lighting. Auto white balance will chase those shifts frame by frame, so a set shot on auto can look like several different mornings. Lock a daylight or fixed Kelvin value, shoot raw, and grade the series together afterwards. Warming a consistent set is far easier than reconciling images that have drifted apart.
Shutter speed is a creative decision
Mist moves slowly, but it does move. A fast shutter speed, around 1/500 second, freezes wisps and gives a textured, restless look. Several seconds smooth the same scene into something closer to water. Choose before you set up, because the two demand different support. Long exposures need a tripod, often a neutral density filter even in dim dawn light, and wind in the trees will smear across the frame whether you wanted it or not.
The small slips
Cold drains batteries, so keep a spare in an inside pocket and rotate them as they chill; a battery that reads flat in the frost often recovers once warm. Judge exposure from the histogram rather than the rear screen, which will look nothing like the file on your desk. Most of all, do not pack up early. Fog changes by the minute, and a spot that was dull at half past seven can be extraordinary by a quarter to eight.
A Short Practical Checklist
- Expose so the brightest fog holds detail just below clipping, using the highlight warning.
- Shoot raw with a fixed white balance so a series matches.
- Put something genuinely dark in the frame, however small.
- Acclimatise the camera, keep the hood on, keep your cloths dry.
- Build three tonal layers and give the picture one clear subject.
- Use a tripod below roughly 1/60 second, or steady yourself properly if handholding.
- Edit gently: black point, soft curve, local contrast only where detail exists.
- Stay longer than you planned to.
Fog rewards patience more than equipment. Get the exposure right so the mist keeps its texture, keep a dark anchor in the frame, and look after the front element of your lens. Do those three things and the rest is simply being there when the light and the water vapour agree with each other.
Photo: Amar Preciado / Pexels