Fog Photography Settings Compared: Aperture Priority vs Manual Mode
Fog is generous with mood and stingy with contrast. The moment mist settles over a field or a city street, your camera's meter starts making assumptions that no longer hold. A scene that looks soft and atmospheric to you can look like an exposure problem to the camera: bright fog, dark trees, no true black, no true white. The choice between aperture priority and manual mode is not about which is more professional. It is about which gives reliable results in flat, low-contrast light.
Why mist confuses the camera meter
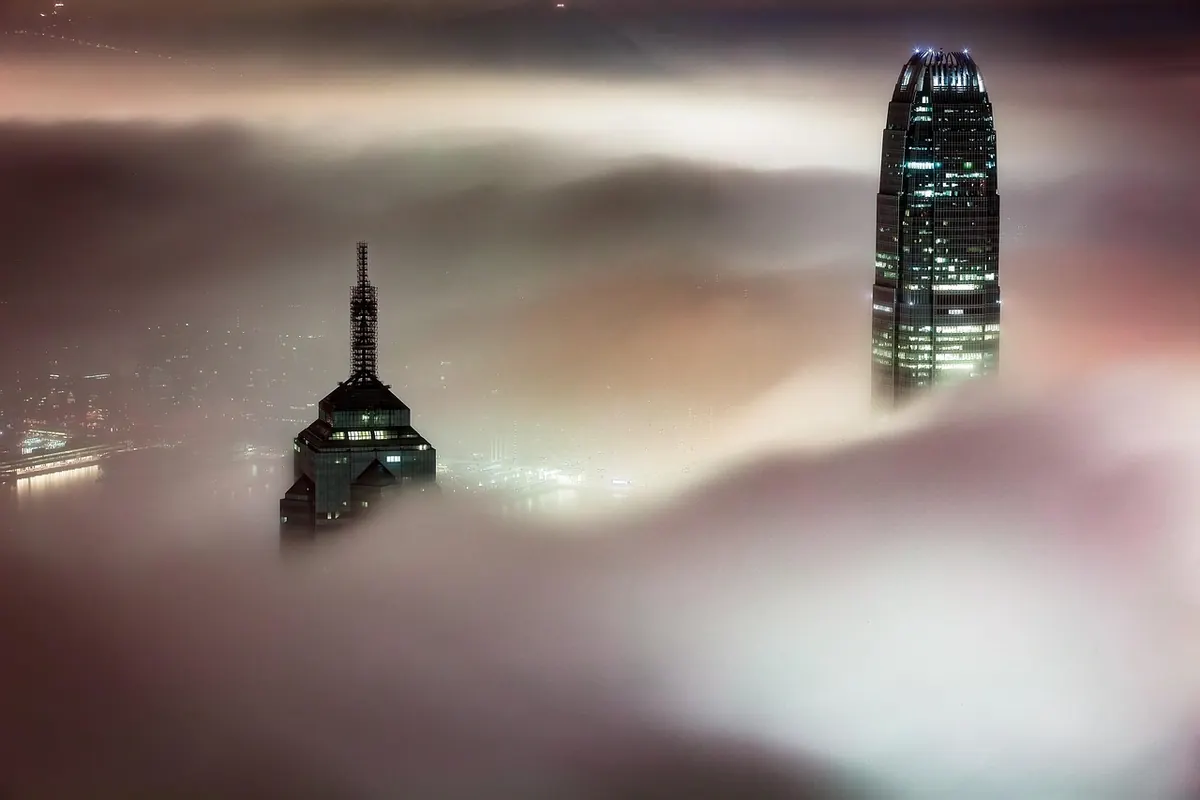
Your camera's meter is calibrated for an average scene, roughly a mid-grey tone. Fog is rarely average. When bright mist fills the frame, the meter reduces exposure and turns luminous fog into dull grey. When dark trees dominate, it increases exposure and blows out the mist behind them. The same scene can be underexposed or overexposed depending on where you point the camera.
Low contrast adds another problem. Autofocus needs edges to lock on, and fog softens every edge, so a lens that snaps into focus on a clear day may hunt back and forth. Metering modes behave differently too: evaluative averages the whole frame, centre-weighted leans on the middle, and spot reads a small area. None of them knows that fog is supposed to be bright. You have to tell the camera what you want.
Aperture Priority: fast and adaptable
In aperture priority, you set the aperture and ISO; the camera chooses the shutter speed. For misty landscapes, start at f/8 or f/11 for depth of field, set ISO 100 or 200 if you are on a tripod, and let the camera handle the rest. This is the mode to choose when light is changing quickly, when you are walking and hand-holding, or when the mist is drifting and you want to react without fiddling with dials.
The catch is exposure compensation. If the fog is bright and fills the frame, dial in +1 EV or even +1.7 EV to keep it luminous. If dark woodland surrounds a small patch of mist, you may need 0 EV or -0.7 EV to protect the highlights. Check the histogram after every few frames. A histogram pushed to the right but not clipping is usually where mist looks its best.
When aperture priority earns its keep
- Hand-held shooting in changing light, where shutter speed must adapt.
- Street or documentary work with people moving through the mist.
- Quick scouting shots before you commit to a tripod position.
- Any situation where you want a baseline exposure to refine later.
Where it starts to slip
Aperture priority can drift. Recompose from a bright patch of fog to a dark tree trunk and the shutter speed changes, sometimes by a full stop or more. For one frame that is fine. For a panorama, a focus stack, or a series you plan to blend, it is a problem. Low light makes it worse: the camera may choose a shutter speed that is too slow for hand-holding, and your mist becomes a smear.
Manual Mode: consistency in flat light
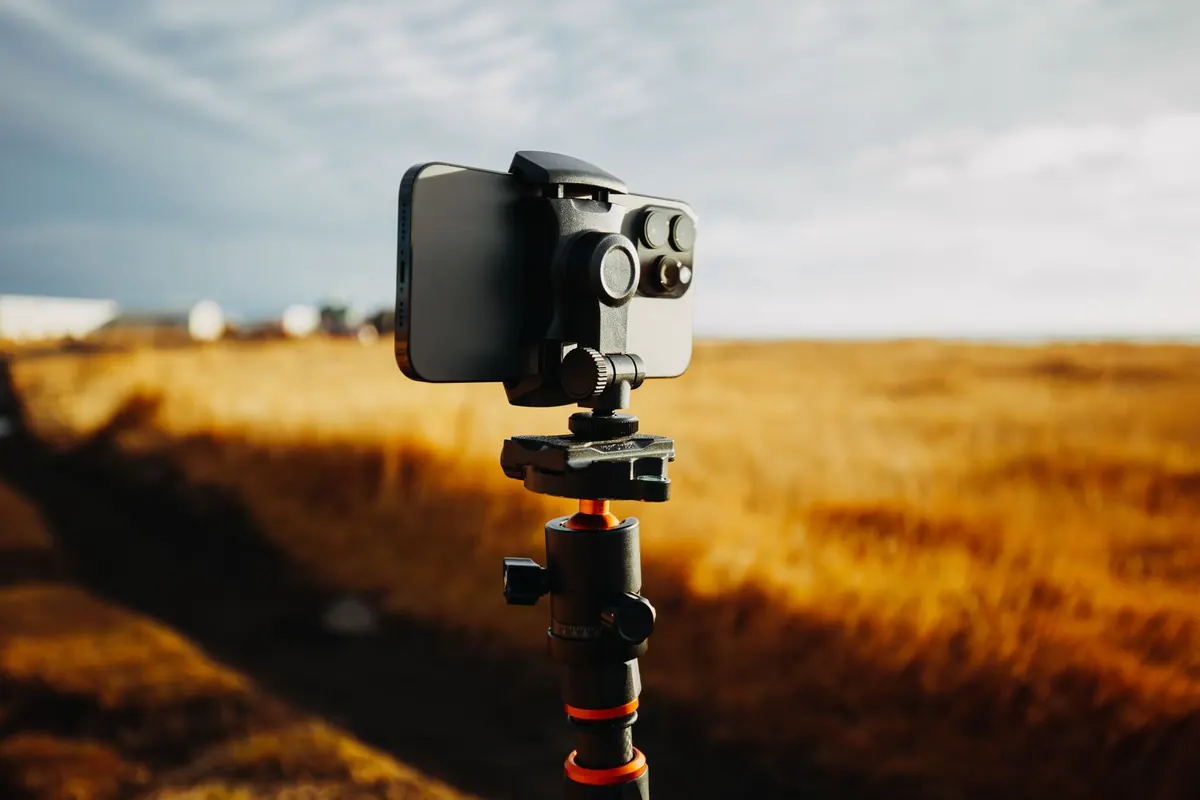
Manual mode asks you to set aperture, shutter speed and ISO yourself. In mist, that is less daunting than it sounds. The light is often flat and unchanging, so once you find an exposure that works, you can shoot for minutes without touching a dial. This is the mode for tripod work, panoramas, and any series where you want every frame to match.
Use the histogram as your meter. Take a test frame, look at the highlight warning, and adjust shutter speed until the brightest fog sits just below clipping. Keep the aperture where you want it for depth of field, and change ISO only if you need a faster shutter or a cleaner file. If you prefer a meter reading, switch to spot metering and read a mid-tone: grey rock, green foliage, or a grey card. Then lock those settings and forget them.
A simple manual workflow for mist
- Set the camera on a tripod. Use ISO 100 or 200, and an aperture between f/8 and f/11.
- Switch to live view and enable the histogram and highlight warning.
- Start at 1/125 sec at f/8. Adjust shutter speed until the brightest mist is bright but not clipped.
- Check the shadows. If they are too dark, decide whether to lift them later in RAW or add exposure now.
- Focus manually using magnified live view, or set focus a third of the way into the scene for deep depth of field.
- Shoot a frame, check the histogram, then leave the settings alone unless the light changes.
Comparing the two in real misty scenes
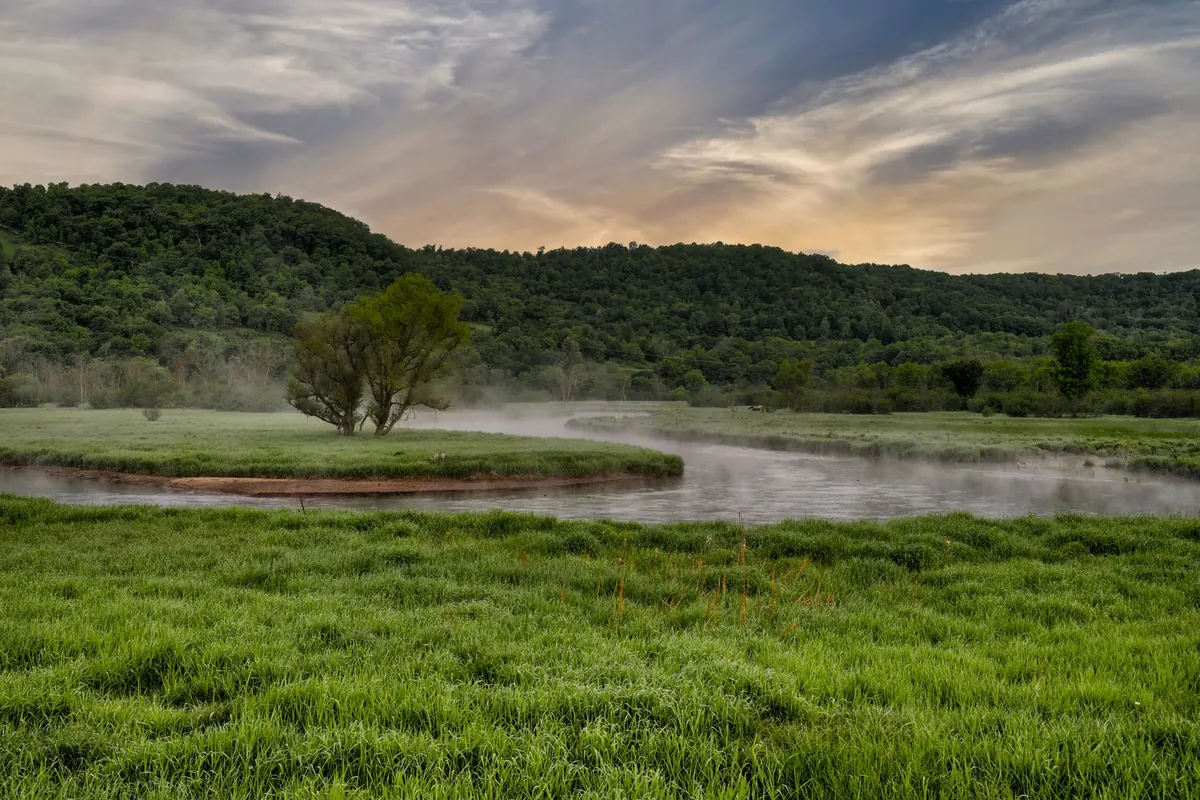
On a riverside path at dawn, with mist moving and light shifting, aperture priority with +1 EV and auto ISO is hard to beat. You can walk, react and keep shooting. In a woodland clearing, where you want five frames of the same composition with identical exposure, manual mode wins. Focus, exposure and white balance stay fixed, and the files blend cleanly later.
When the sun breaks through fog, contrast rises fast. Aperture priority may start underexposing as the bright sun enters the frame; manual mode lets you hold the exposure for the mist and let the sun clip if you prefer. Bracketing is a sensible compromise in either mode: three frames at one-stop intervals give you options without slowing down too much.
Exposure compensation, metering and focus in fog
Mist rewards small adjustments. Bright fog that fills the frame usually needs positive compensation; dark trees around a small patch of mist often need neutral or slightly negative compensation. Spot metering on a mid-tone is more predictable than matrix metering when the scene is split between bright and dark. For focus, use a single point and aim for a contrasty edge. If the lens hunts, switch to manual focus and magnify the live view.
White balance matters too. Fog often records cooler than it feels, so daylight or cloudy presets can keep it neutral or warm. Shoot RAW and adjust later. A polarising filter can cut glare on wet leaves and add separation, but rotate it slowly; too much polarisation can make mist look flat. Keep a microfibre cloth handy, and let cold gear acclimatise before you take it into warm, damp air to avoid condensation.
A practical field routine
Start in aperture priority to find a baseline exposure. Note the aperture, shutter speed and ISO. If the scene repeats, or you are setting up a tripod, switch to manual and dial in those same settings. Check the histogram, protect the brightest mist, and shoot a few frames. If the light changes, go back to aperture priority for a moment, find the new baseline, then return to manual.
Neither mode is a badge of honour. Aperture priority is a fast, flexible tool for mist that will not wait. Manual mode is a lock, useful when consistency matters more than speed. Learn both, and you will spend less time fighting the meter and more time watching the fog do its quiet work.
Photo: Matheus Bertelli / Pexels